You have many options when it comes to adding a border on your document. You can add a border in dotted or solid form, or you can use a titled or shape border. Here are some helpful tips to get you started. These tips will assist you in creating a professional-looking document.
Incorporate a title border
TitledBorder() allows you to create a title for your web page. It requires a string argument for the title, as well as optional arguments to set font, color, or border. By default, the title has a left-justified format. The title extends to the top of its companion border. You can also specify which position the title is in, which will be equivalent to left orright, and the justification.
Depending on which CSS style you choose, the border can be either invisible or visible. The invisible border will take up no space, and the border size and color can be specified as optional arguments. You can also indicate an icon to display on the border. These options will make your border even more appealing. The titled border will make your title stand out among other components in the page.
You can also create an titled border by using a CheckBox. This is possible by making sure the border and checkbox are located in the same GridBagLayout cells. The border can be overlapped with the checkbox. It is possible to overlap the border and checkbox, but you should ensure that they have different GridBagConstraints Insets.
Add a solid boundary
Use the Borders and Shading tools to create a solid border for a document. In the Borders and Shading dialog box, select the page border. You can choose from a variety of options, such as dotted, dashed, or solid.
You don't have to add a thick border to your document. Or, you could choose a form and place it in the document's content. You can also change the solidity and width of the shape.
A common alternative is to change its color. A solid border can be made more elegant by changing its color. Colored borders look more prominent than those made of solid material. You can change their color and width with the drop-down menus. You can also change the border width by clicking on each line in the "Preview" section.
You can apply borders to most document items in Microsoft Word, including spreadsheets and documents. You can apply them to specific pages, sections or the whole document. To highlight specific elements of your document, you can use different border colors. Microsoft Word 2010 automatically selects Page Borders.
Add a dotted line border
Click the Edit button on the toolbar and click the Styles tab to add a border with dots to a photo. You will be able to choose the color palette, weight, and eyedropper of the border, as well as the width of the border. These settings can be used for creating a custom frame to fit your picture.
Cap Type is an advanced setting that gives you more options for creating border options. Square Cap and flat Cap have different corner shapes. Round Cap places rounded edges on the dashes. The overall appearance of your photo will be dramatically affected by the choice of cap. A dotted border can make your picture stand out in a presentation.
Microsoft Word makes adding borders to pictures easy. The interface is easy to use, making it ideal for children. You can easily adjust your border and crop the image or resize it if needed.
Apply a shape border
PowerPoint does not have a command to create borders. However, shapes can be used to do so. To insert a border, you can use Bing Image Search which is included in PowerPoint. This will allow you to add the border on your slide.
Click on the Stroke option in Illustrator's toolbar. Next, select the type of stroke you want. You have the option of choosing solid coloring, bordered or centered on the selection line. Once you have selected the border, you can adjust its weight.
Paint can be used to create your own shapes if you don't have GIMP. Paint is free and includes many of Photoshop's features. Once you choose a shape, open it in the Shapes section of your canvas and drag it around the outside of the image to create a border.
Change the border color
The border-color property lets you change the colors of the four borders that appear on an element. It can have values ranging from 0 to 255. Before you can change the border color, it is necessary to declare the border-style property. Also, make sure the element has borders before you do this.
RGB values are numbers that range from 0 through 255. These numbers are used by web browsers to determine the element's color. However, if you'd like to set the border color in a more human-readable way, try using HSL values. This color scheme uses values close to what a human can see. The syntax is the exact same as for RGB values. HSL stands as hue, saturation, and lighting.
Navigate to the Home tab, and click the small border icon to change the border color. In a drop down menu, you will see the color palette. You can also change the color of your border fill. After changing the border color, press Esc to return to your original cursor.
Excel makes it easy to change the color of a border. To specify the color, click the Borders icon in the Font group. You can also use Format Cells dialog box for different border colors. You can use the Font and Style tools within Microsoft Office to set different types and colors for each cell.
FAQ
What is the minimum space required to grow vegetables?
A good rule is that 1 square foot of soil needs 1/2 pound. For example, if you have a 10 foot by 10 foot area (3 meters by three meters), 100 pounds of seeds will be required.
Which type of lighting best suits indoor plant growth?
Because they emit less heat than traditional incandescent bulbs, Florescent lights are ideal for indoor plant growth. They can also provide steady lighting without flickering and dimming. Both regular and compact fluorescent fluorescent bulbs are available. CFLs can use up to 75% more energy than traditional bulbs.
How often should I water my indoor plants?
Indoor plants need watering once every two days. Humidity levels can be maintained inside the house by watering. Humidity can be vital for plants that are healthy.
Statistics
- According to a survey from the National Gardening Association, upward of 18 million novice gardeners have picked up a shovel since 2020. (wsj.com)
- 80% of residents spent a lifetime as large-scale farmers (or working on farms) using many chemicals believed to be cancerous today. (acountrygirlslife.com)
- It will likely be ready if a seedling has between 3 and 4 true leaves. (gilmour.com)
- According to the National Gardening Association, the average family with a garden spends $70 on their crops—but they grow an estimated $600 worth of veggies! - blog.nationwide.com
External Links
How To
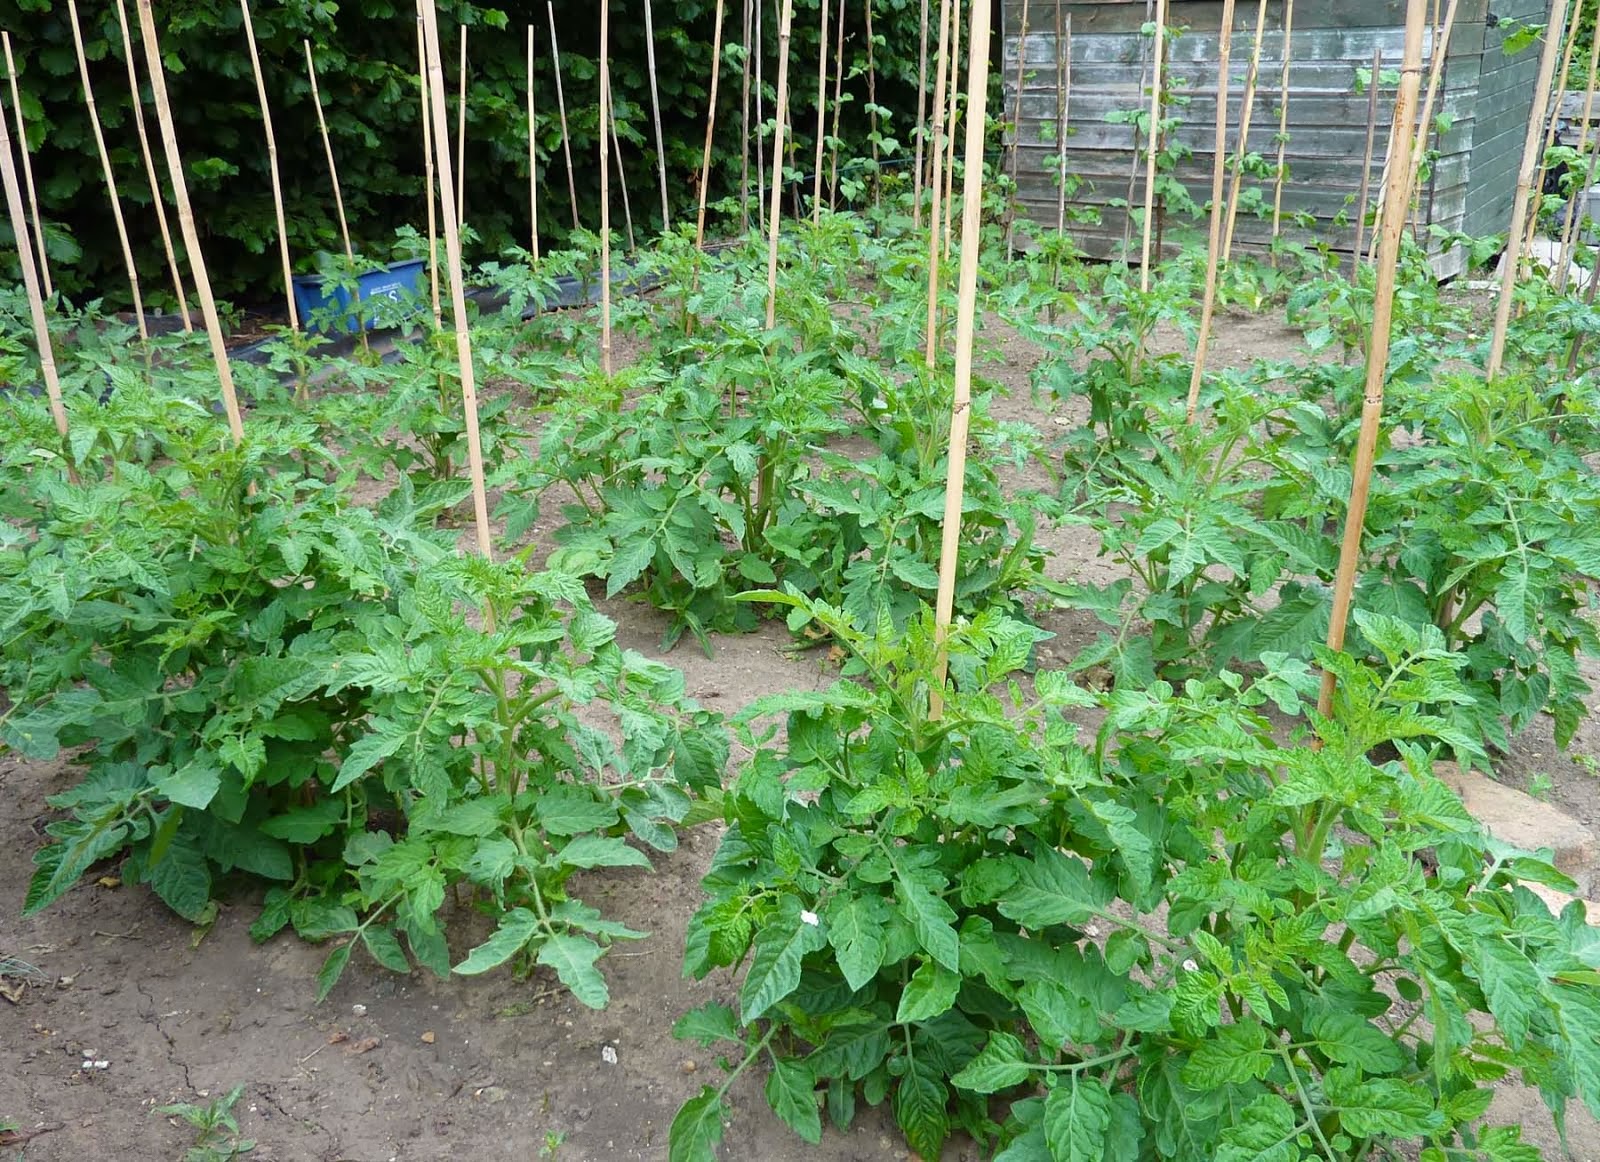
How to plant tomatoes
To plant tomatoes, you need to have a garden or container. Tomatoes require patience, love and care. There are many varieties of tomato plants available online or in your local store. Some plants require special soil while others don't. A bush tomato is the most common variety of tomato plant. It starts with a small ball at it's base. It's simple to grow and extremely productive. You can start growing tomatoes with a starter package. You can find these kits in gardening shops and nurseries. They contain everything you need to get started.
Three main steps are required to plant tomatoes.
-
Place them where you would like.
-
Prepare the ground. This can be done by digging up the soil, removing stones, weeds etc.
-
Place the seeds directly on the prepared ground. After placing the seedlings, make sure to water them well.
-
Wait until they sprout! Water them again, and then wait for the first green leaves to appear.
-
Once the stems are 1 cm (0.4 inches), you can transplant them to larger pots.
-
Continue to water every day.
-
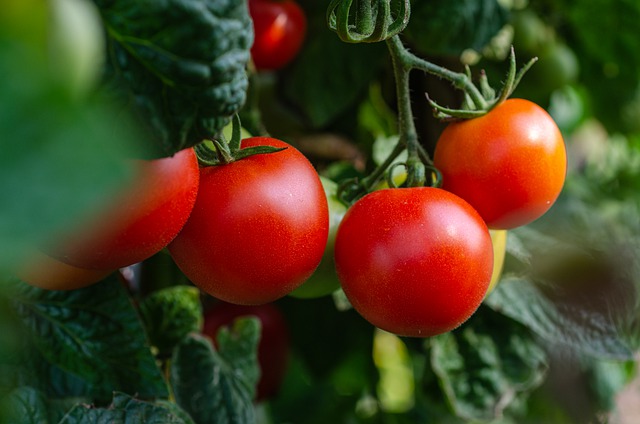
Harvest the fruits when they are fully ripe.
-
Fresh tomatoes can be eaten right away, or stored in the fridge.
-
Each year, repeat the process.
-
Before you start, be sure to carefully read all instructions.
-
Have fun growing your tomato plants!